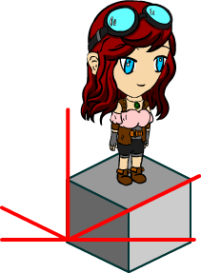
In my previous posts, I have written about how to create an isometric world and how to move a character to tiles using pathfinding. However, the character I used did not have the proper angles for an isometric world. So today will be somewhat of a more art-focused post on how I created a character for this. Also, I don’t claim to be an artist, I just doodle really, so any feedback would be greatly appreciated!
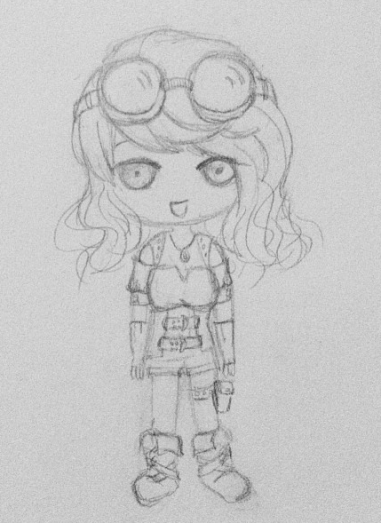
I started off with a front-facing character sketch (using pencil and paper) so that I have a basic idea of the design I wanted to go for. Mainly, my inspirations were anime, chibi, and steampunk:
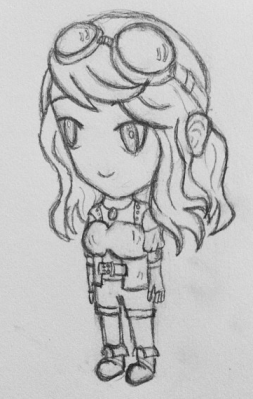
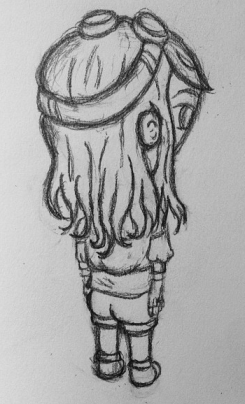
From there, again in pencil and paper, I sketched the isometric front and back of the character. I made this version more chibi-like with more defined lines. That way, when I scan it, it’ll be easier to see and trace:
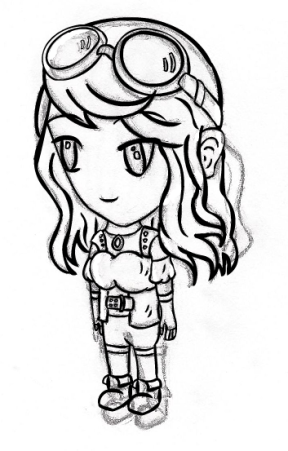
Then, I scanned the isometric front and back sketches and traced them in Flash. I chose Flash because I already have the program, and it keeps the image in vector format so that it’s easy to scale up and down without downgrading the image quality. Some other options for drawing would be Illustrator, Photoshop, Manga Studio, Sketchbook Pro. Any others? Also, I used a really old and small Wacom Graphire4 tablet. Another option would be a Cintiq. Or a mouse. Hehe.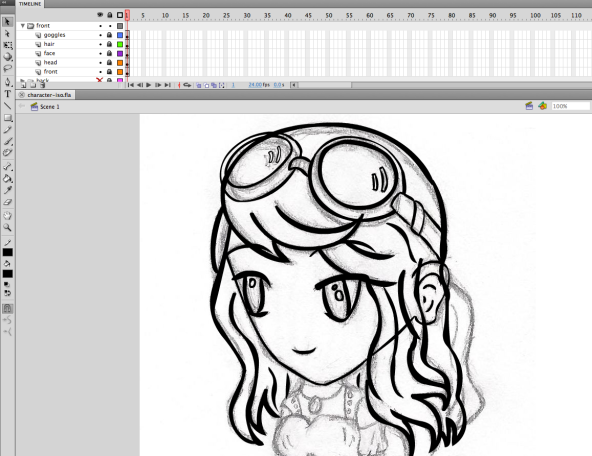
As you can see in the screenshot above, I tried to separate the different body parts and clothing into different layers. This makes it easier to make changes later.
I didn’t trace it exactly. I wanted to shorten her legs a little. If you want to make some changes in your design, now’s a great time to do so. Again, separating the body parts into different layers makes this process much easier, especially if you make mistakes and end up erasing a lot. I also made separate layers for the colors. So underneath the “hair” ink layer, I had a “hair color” layer, and so on. I think it’s also important to label the layers and folders for organizational purposes, and it’ll be easier to remember what you did when you go back to it later on.
Also make sure that you match it up with the tile you’re using!
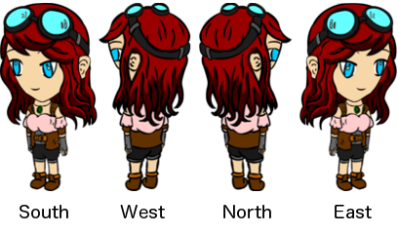
I am using only four directions in my pathfinding, so I only needed to ink and color the front and back to make the first two directions, and then do a “Modify – Transform – Flip Vertical” to do the last two directions, since they are really mirrors of each other.
The above image would make a great spritesheet (without the directions text of course), and the character dimensions were about 102×195 each. Using EaselJS, I applied this into the spritesheet settings in the code. My loadPlayer() code looks something like this:
// create spritesheet and assign the associated data.
var spriteSheet = new createjs.SpriteSheet({
  //image to use
  images: [img],
  //width, height & registration point of each sprite
  frames: { width: 102, height: 195, regX: 32.5, regY: 16.25 }
});
You would then need to associate the four character frames with the four directions. For example, if the character is moving to a higher row (like from row 0 to row 2), but remains in the same column, she is moving south. In the spritesheet, it’s the first image, so it’s frame 0.
if ( row < destRow && column === destColumn ) {
  context.player.currentFrame = 0;  // south
} else if ( row > destRow && column === destColumn ) {
  context.player.currentFrame = 2;  // west
} else if ( row === destRow && column < destColumn ) {
  context.player.currentFrame = 3;  // north
} else if ( row === destRow && column > destColumn ) {
  context.player.currentFrame = 1;  // east
}
To view the working example, check it out here!
